
All Farm Guides
Building Upgrade Order — Horses of Hoofprint Bay
Which buildings to upgrade first in Horses of Hoofprint Bay: stable, pasture, arena, staff, breeding, and when to expand without breaking your early budget.
Your farm in Horses of Hoofprint Bay is a set of upgradeable buildings—not a single “barn level.” The smart question is not “what is the meta order,” but which bottleneck is stopping you today: training access, town travel, horse slots, staff, breeding tools, or young-horse space. This page maps each building, what it unlocks, and a recommended spend order you can adapt. Dollar costs below are included only where two independent community sources agree, or where a single database entry is explicitly labeled as reported.
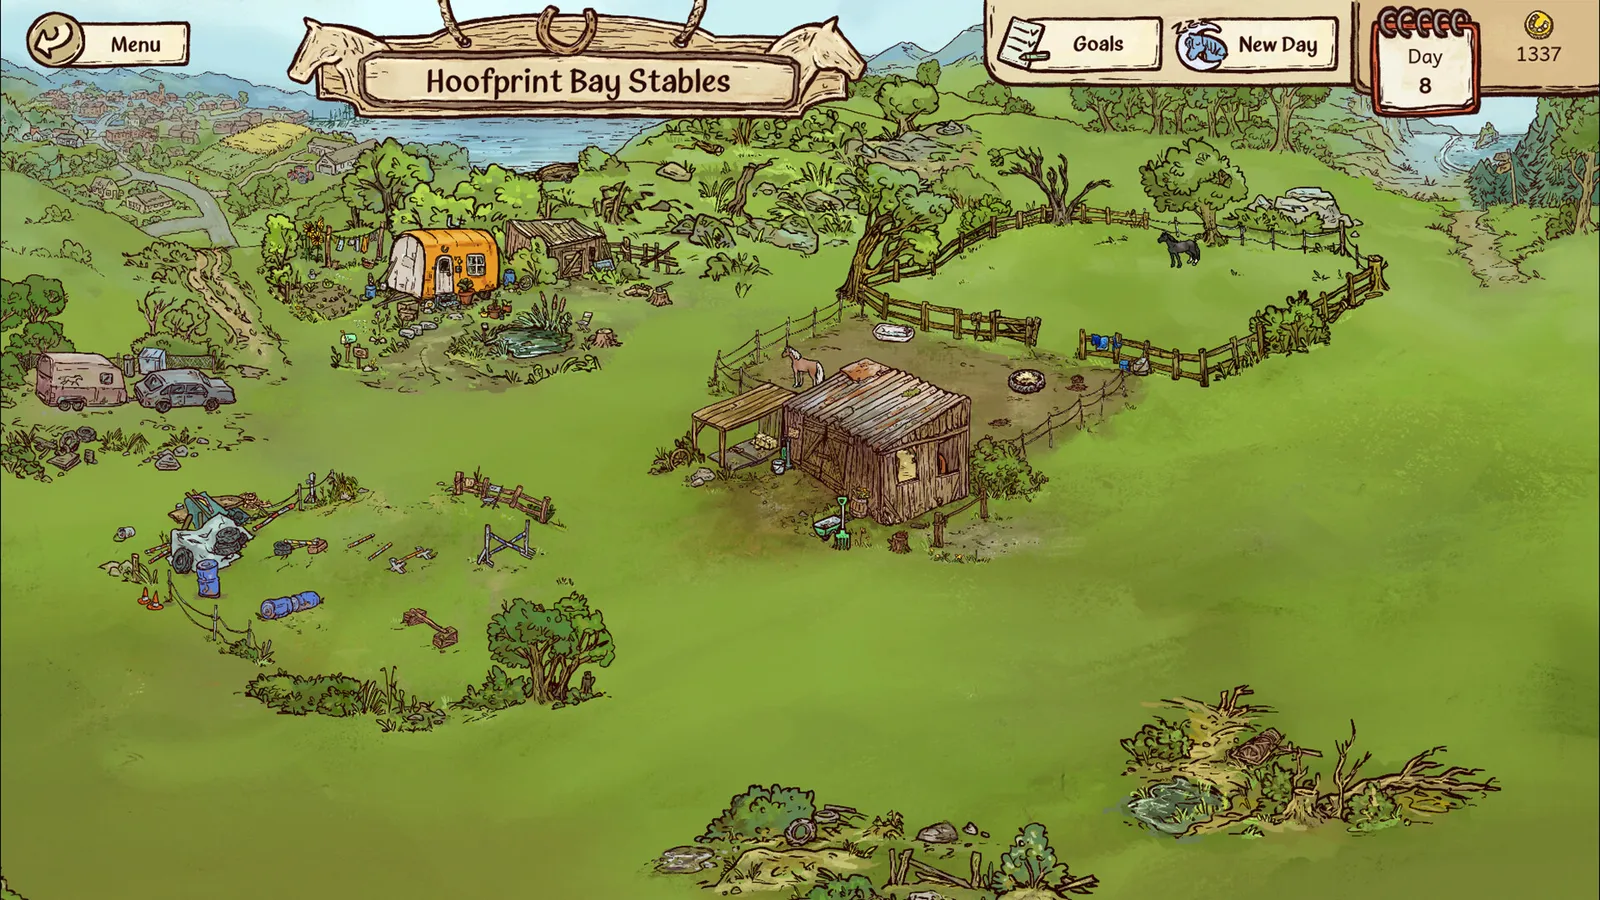
Screenshot: official Steam store page.
What buildings exist on your farm?
From the farm overview you can reach the stable, pasture, main house, breeding station, riding arena, parking lot, yearling paddock, feed storage, and trail entrances. That layout is consistent across community write-ups and matches the management fantasy on the Steam store page (upgrade for more horses, hire staff, unlock advanced breeding tools).
If you are still learning the loop, pair this page with the /guides/beginner-guide/ for quests and the /guides/make-money-guide/ for income timing.
Stable and pasture: capacity vs turnout
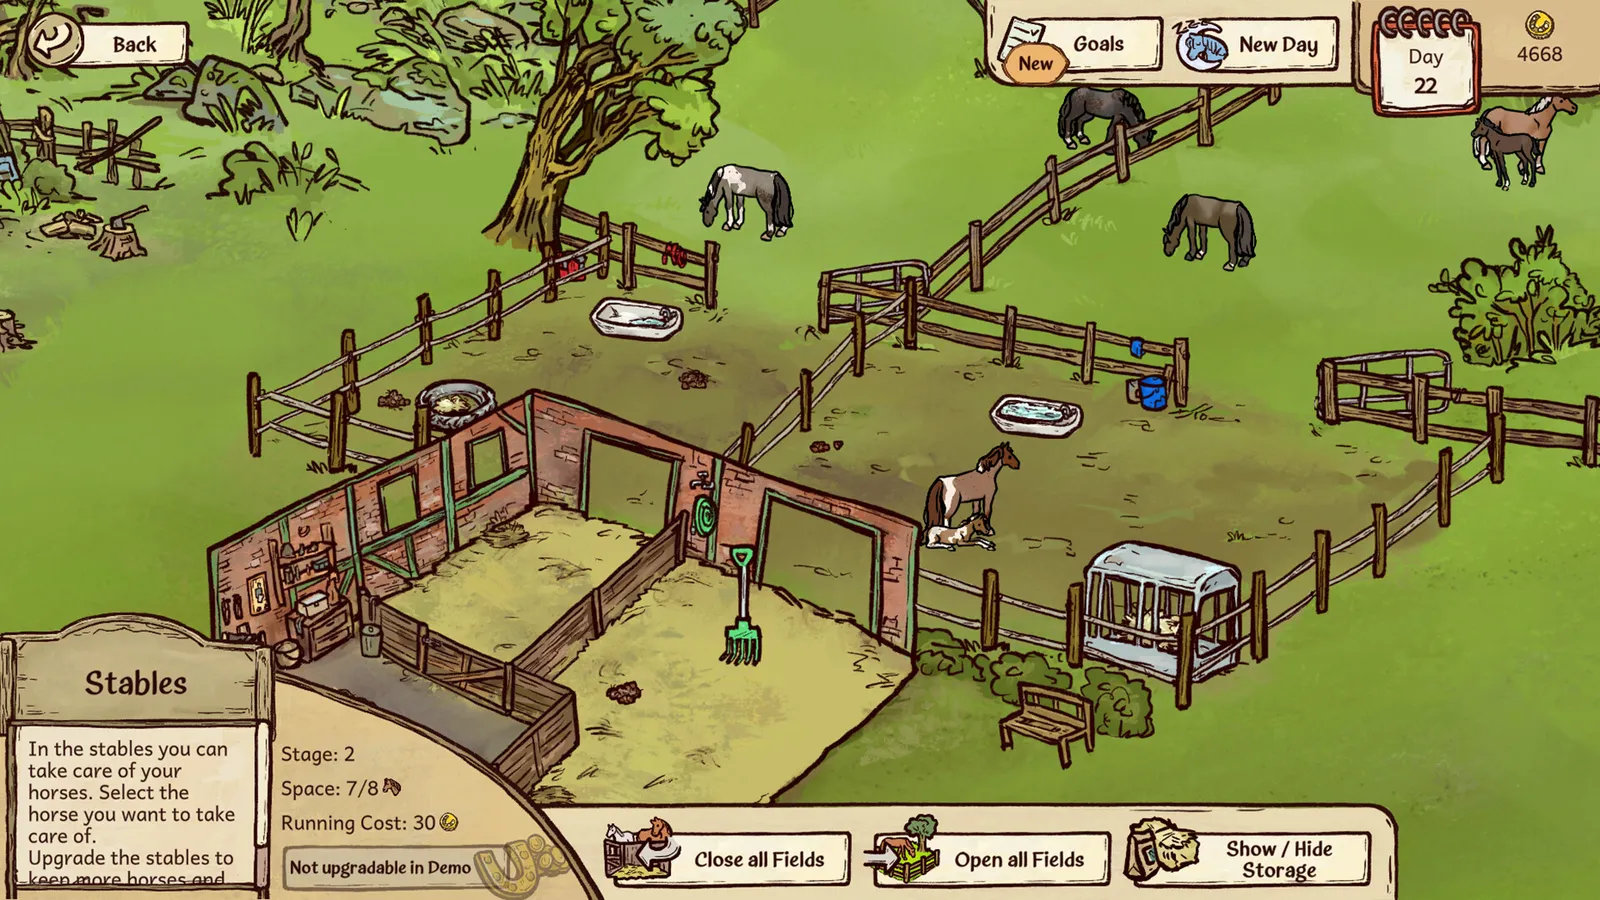
The stable is your hard capacity limit. You begin with space for four horses; upgrades add stable groups in an open-yard layout until community sources cap the main stable at twenty horses. Each stable tier also refreshes the art in the care screen—developer work-in-progress posts on Reddit note backgrounds scale with stable level in the full release.
The pasture is attached but upgraded separately. Gates decide which groups get outdoor access. Pasture does not add slots. Community guides stress a pairing rule: keep pasture level aligned with stable level, or some groups miss turnout while you still pay for unused pasture capacity.
One community comparison notes pasture turnout can reduce hay demand compared with indoor-only keeping—treat that as a reported economy detail, not a guaranteed number.
Riding arena and parking lot: unlock progress, not slots
Riding arena — Required to run arena training that feeds your /guides/training-guide/ progression. Higher arena levels unlock additional course types (show jumping tiers, caprilli, cross-country, gridwork, lunging variants, and more in community course lists). Build this before you worry about max stable size.
Parking lot — You need at least one upgrade to own a horse trailer for town. Further upgrades increase how many horses you can haul to competitions and the breeder. Without this, prize money and stud visits stall even if your stable is pretty.
Main house: office tools and staff gates
The main house holds your office (horse list, boarder binder, staff screen, daily activity overview, finance and prestige stats, building upgrade list), the in-game library, dressing room, and staff hiring. Steam’s copy explicitly ties advanced building stages to new staff applications; community databases map named employees to main-house levels (for example, a second house tier unlocks bulk grooms, a lesson instructor, and trainers—see /farm/staff-guide/).
Upgrade the main house when manual care or lesson income—not lack of slots—is your constraint.
Breeding station and yearling paddock: mid-game infrastructure
Breeding station — Starts with live covering; higher tiers add fresh semen collection, a foal preview tool, and frozen semen sales according to community building tables. Deep mechanics live on /horses/breeding-guide/.
Yearling paddock — Separate space for young stock. Two independent community sources agree a maxed paddock holds thirteen yearlings without consuming main stable slots—valuable once foals stack up.
Feed storage — Separates from the stable visually at higher stable tiers and shows hay/grain stockpiles; it is informational, not a substitute for planning feed purchases.
Recommended upgrade order (suggested)
This is analysis, not a hidden game rule. Re-order steps when your save’s bottleneck differs.
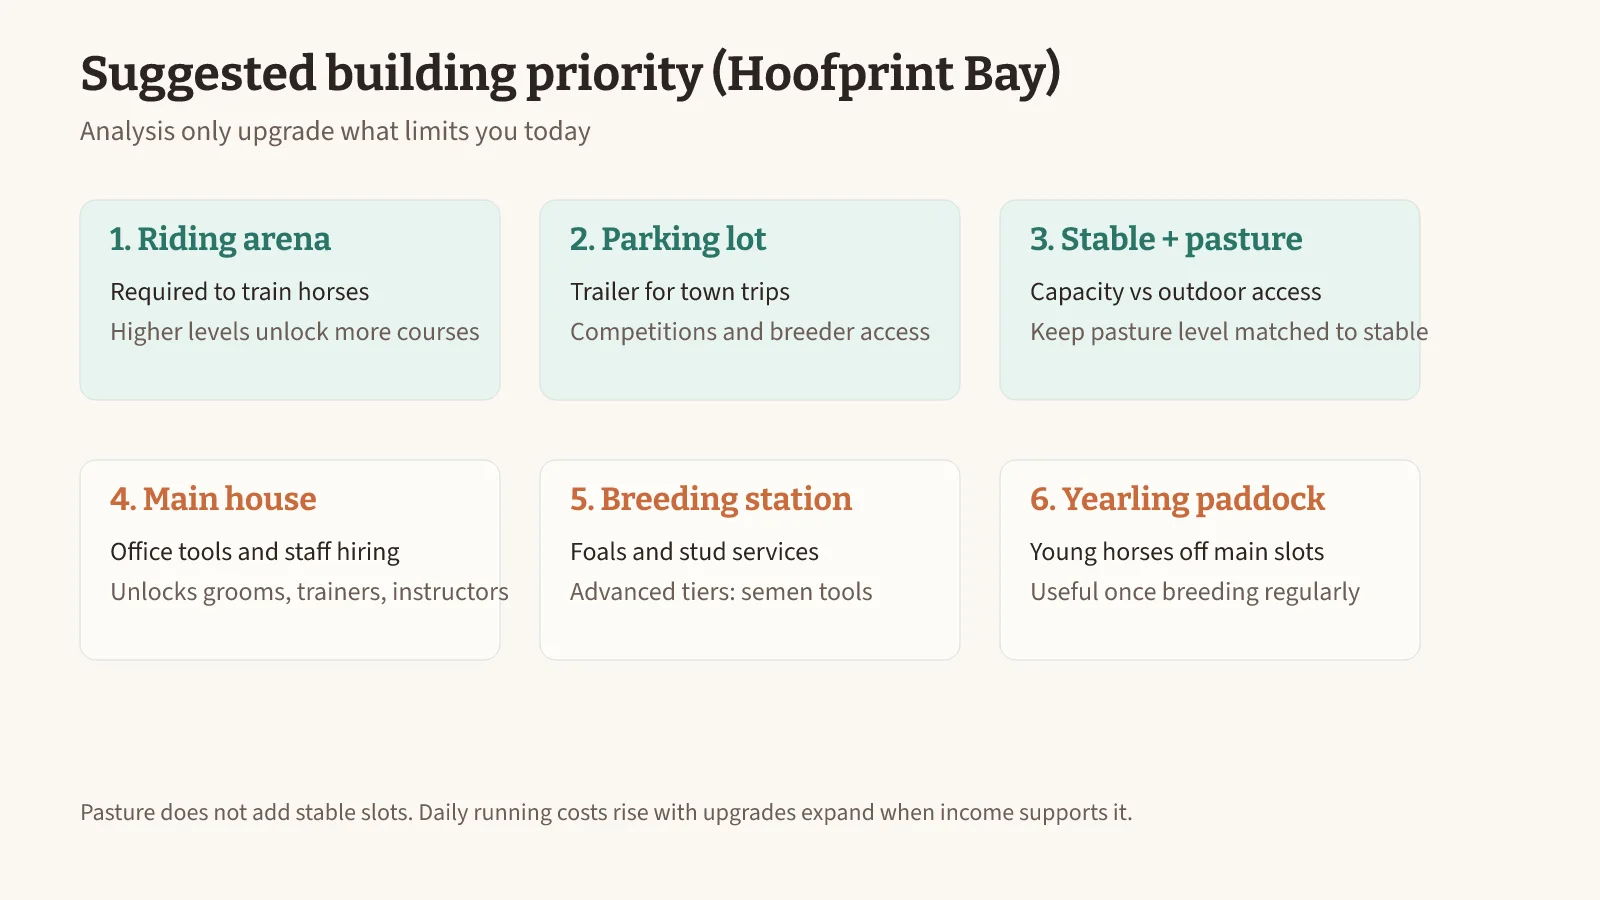
| Priority | Building | Why |
|---|---|---|
| 1 | Riding arena | Training and competition licenses require arena courses. |
| 2 | Parking lot | Trailer access to town events and breeding. |
| 3 | Stable, then matched pasture | Add slots only when you can feed and care for more horses; sync pasture gates. |
| 4 | Main house | Staff, lesson automation, and office tools when daily chores dominate. |
| 5 | Breeding station | When foals or stud income are part of your plan—not before basics pay for themselves. |
| 6 | Yearling paddock | When foals crowd main stable slots. |
When to stop upgrading for a while
Pause construction if:
- Horses are missing hay, water, or grooming because you are busy building.
- You expanded stable slots but have no time to train or compete with the horses you already own.
- Daily building costs plus feed would exceed steady income from boarders, lessons, and events.
That pause is normal. Hoofprint Bay rewards matching infrastructure to how you actually play—competition focus, lesson farm, breeding program, or mixed yard.
Sources and verification
Compiled 2026-11-05 from the Steam store page, grindnstrat farm guide, TMQ Horse Game Database — HoHB, and TMQ Mein Pferdehof comparison. Items marked “reported” come from community guides and were not independently confirmed in-game.
Reported but single-source: most exact build prices and build timers for stable levels 2–3, pasture levels 1–2, and parking lot tier costs (TMQ tables with many “?” cells). Not verified here: precise daily cost for every building tier beyond values duplicated in two community sources.
FAQ
What is the first building you should construct in Hoofprint Bay?
Does upgrading the pasture give you more stable slots?
How many horses can the stable hold at maximum?
Should pasture and stable levels match?
When is the yearling paddock worth building?
Do building upgrades increase daily costs?
Related Articles
competitions
Caprilli Guide — Horses of Hoofprint Bay
Caprilli in Horses of Hoofprint Bay: what the test checks, how to unlock and enter, scoring basics, and prep low-stat horses before show jumping.
competitions
Medium Show Jumping Guide — Horses of Hoofprint Bay
Win Novice (medium) show jumping in Horses of Hoofprint Bay: prep checklist, jump assist limits, strength training, and timing fixes for the post-Beginner wall.
competitions
Show Jumping Guide — Horses of Hoofprint Bay
Show jumping in Horses of Hoofprint Bay: town entry, licenses, levels, jump timing, strength tips, and common faults—clear Beginner before chasing Novice.
Was this helpful?
Thanks for the feedback!